GGyess
Workspaces

Give each team a workspace it can recognize.

When you work across businesses, it pays to check where you are before starting a project or inviting someone. Name each workspace clearly and bring the people who belong there into it.

Inside GGyessEnlarge screenshot
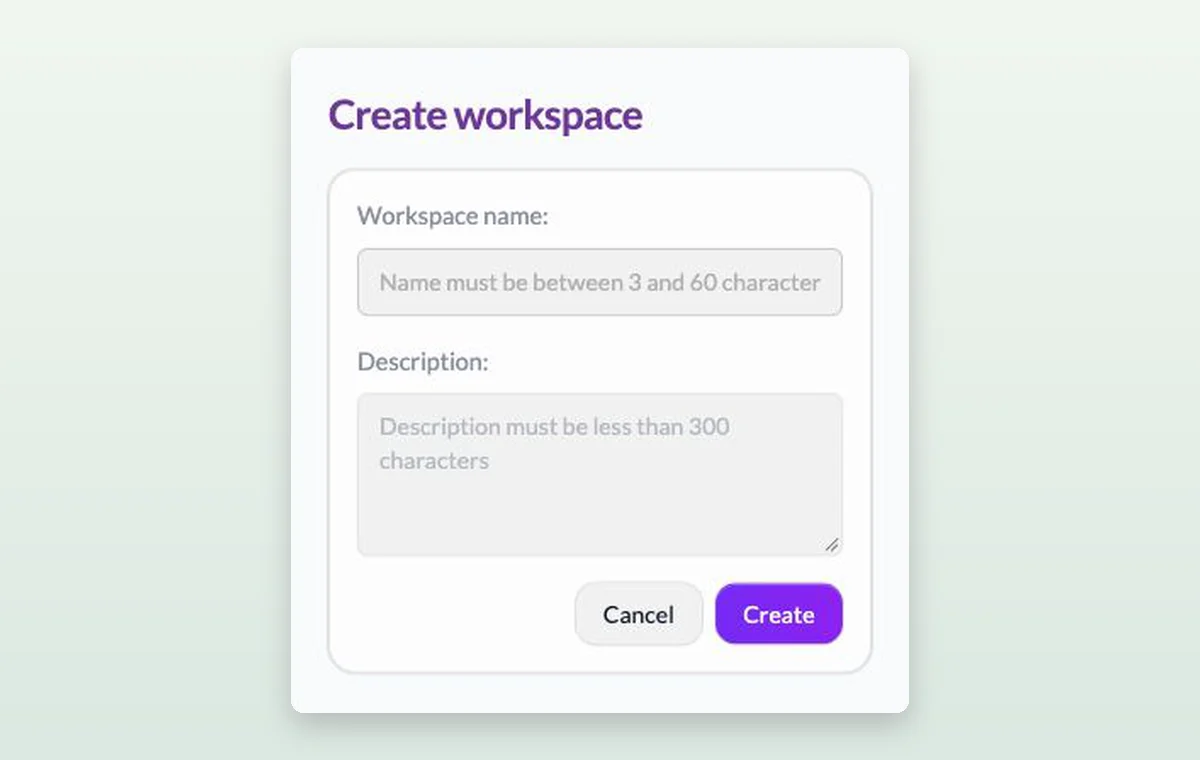
The form for creating a workspace with a name and a description.
Give the new workspace a name and description your teammates will recognize.
Step by step

Set up a home for your team’s work

  1. Create or select the workspace for this team.

  2. Review the people who need to be members.

  3. Add a project space for the first shared delivery.

Inside GGyessEnlarge screenshot
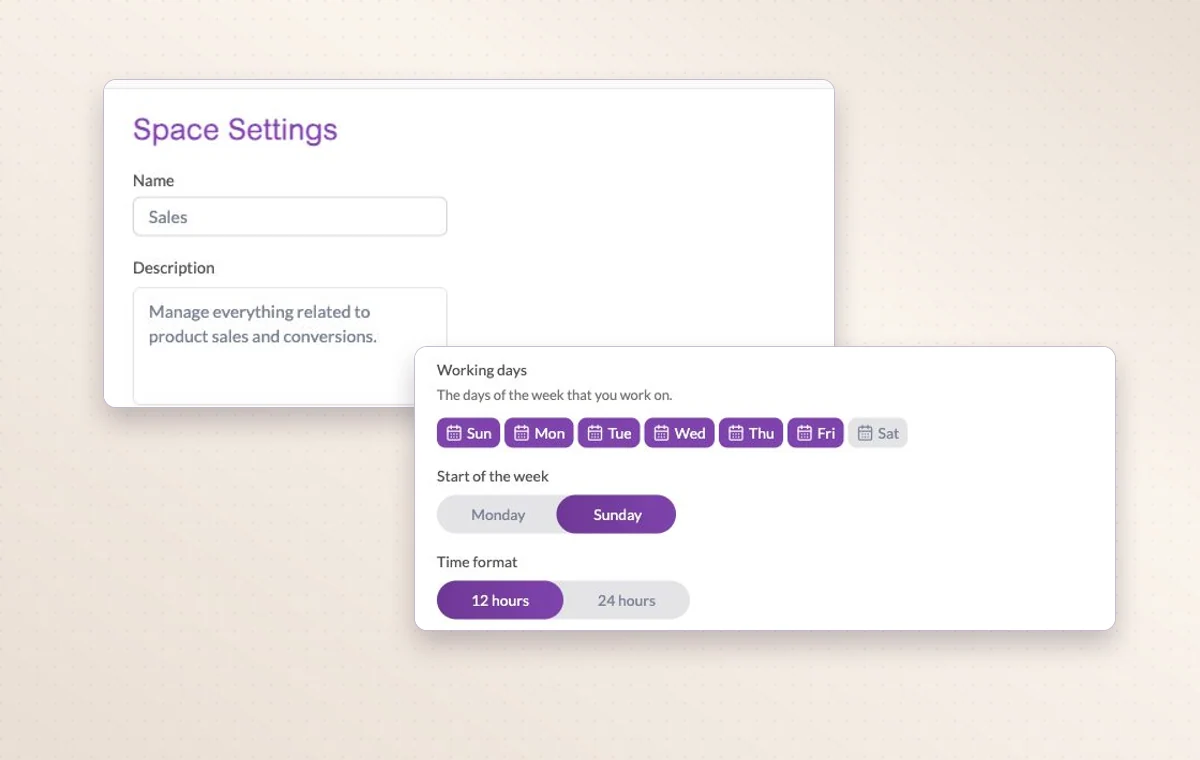
Project settings for a space, including working days and time format.
Workspaces

In day-to-day work

A home for each project

Name the project, describe the outcome and set its working days. The team can add its tasks there as the work takes shape.

The people on this project

Choose the workspace members who will work on this project. You can look at the project membership when you need to know who’s involved.

The right access for the job

When someone joins, review their access to the workspace and project, including their permissions for tasks, documents and files.

Before you start

A few good questions.

Where can I see how much of our plan we’ve used?

Open the plan and usage details in the active workspace to see its allowances and current use.

How is a workspace different from a project?

Your workspace is where you manage members and the plan. Within it, each project brings together the people and tasks for one delivery.

GGyess WorkSuite

Make it clear where your team belongs.

Start on the free plan. Invite your team when you’re ready.

GGyess screenshot